From screenshot to launch video: how to animate an app mockup
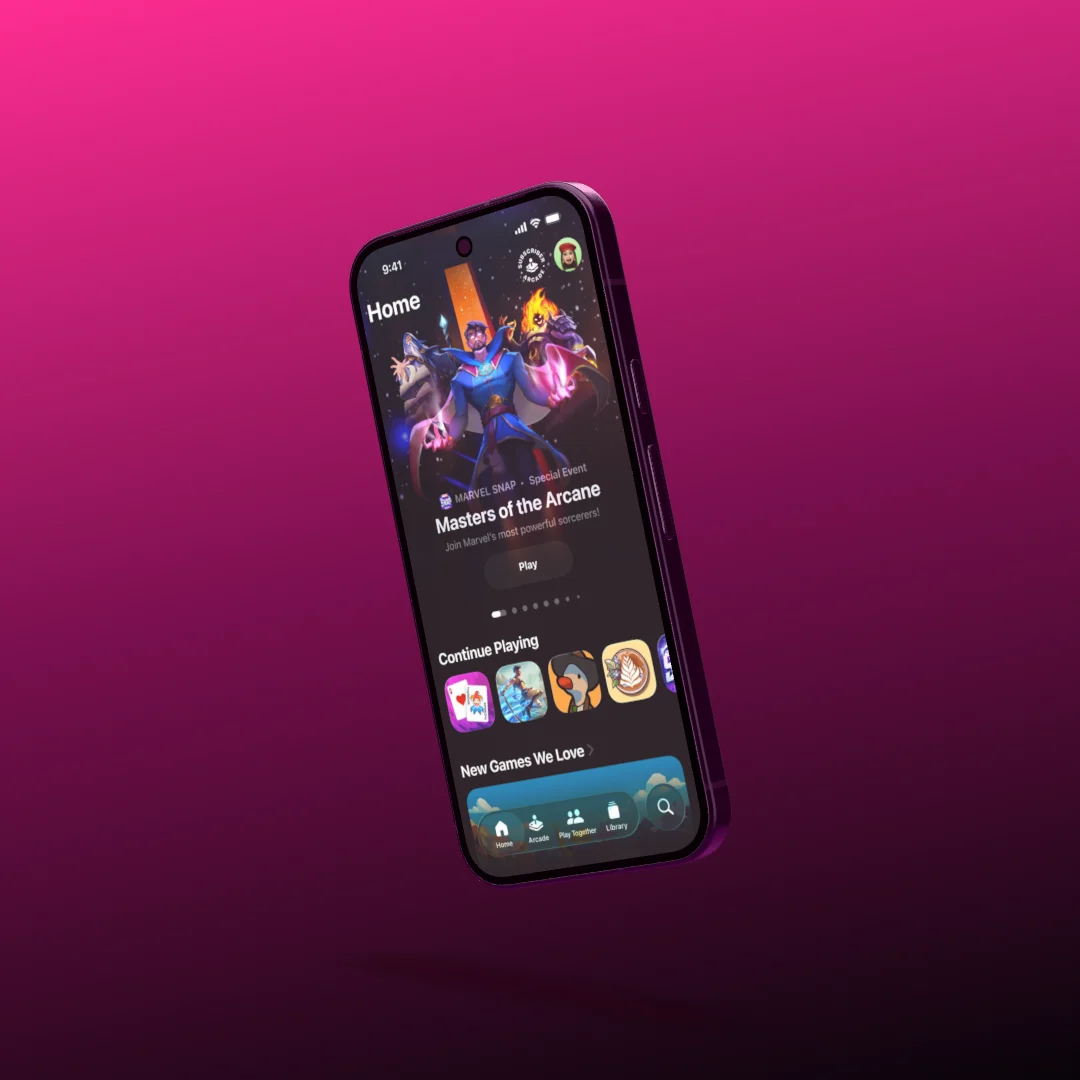
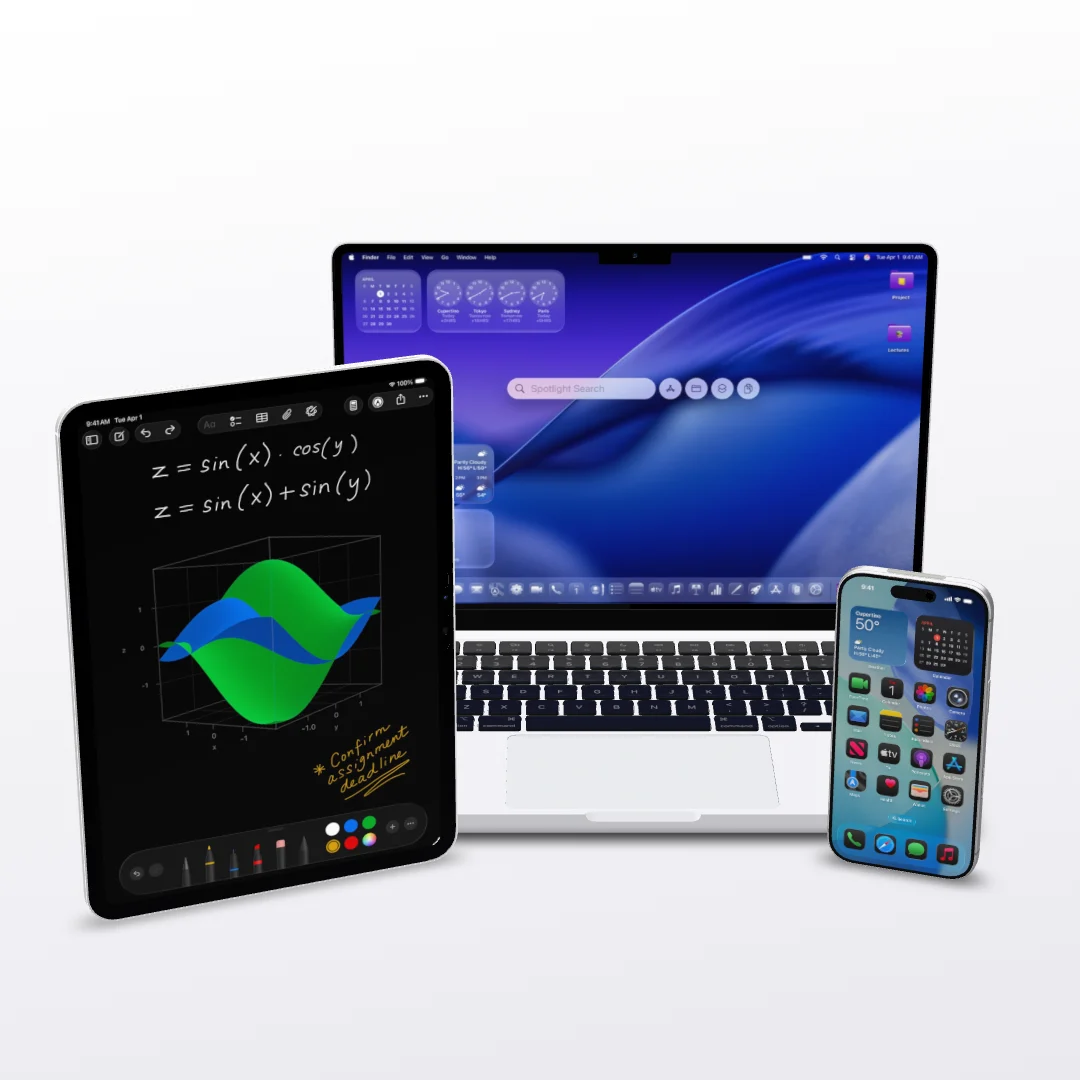
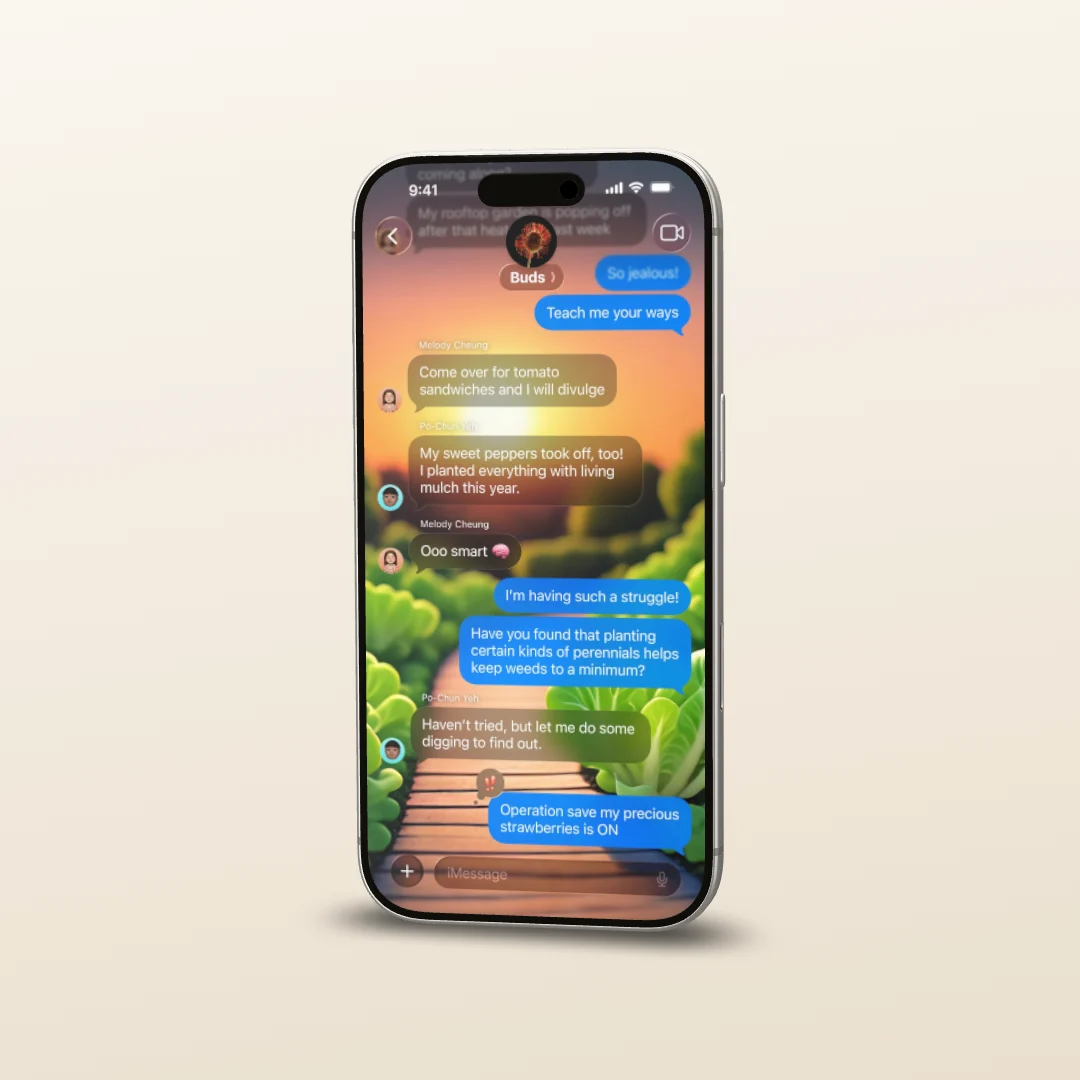
A store screenshot explains what your app is. A short clip shows what it feels like: the phone flies in, the camera moves to the button that matters, the screen changes, music underneath, done. You need neither an editing suite nor a degree in 3D for that. Here is how to turn screenshots into a launch video in Showoff.
Film, not still
When you create a project, Showoff asks: still image or film? For a video you pick film, or start from an animation in the templates. The choice is fixed afterwards.
A film has one duration — its length in seconds — and one stage. The timeline sits underneath: a track for the camera, then one per object. The whole duration always fits on screen, so you never scroll sideways.
How long? 10 to 20 seconds
Launch clips work when they are short. Ten to twenty seconds is enough for an entrance, two or three close-ups and a calm ending. A split for 15 seconds that almost always holds up:
- 0 to 2 s: the device arrives.
- 2 to 12 s: two or three spots in the UI the camera moves to, with a screen change in between.
- 12 to 15 s: the camera pulls back to the wide shot. Room for your name and tagline as text alongside.
Entrance, exit, loop
Every object on the stage — device, image or text — can carry up to three kinds of motion, one of each:
- Entrance: fly (in from below), spring (with a little overshoot), emerge (flies in and grows), spin, or roll (in from the side).
- Exit: the matching counterpart, from flying out to disappearing.
- Continuous motion: float, sway, twirl, tilt or pulse. The MacBook also gets its lid, which opens on cue.
Worth knowing: an object’s position and rotation are its resting pose. Motion is applied on top of that instead of replacing it. In the move and rotate modes you therefore see the device as it would stand without any animation, and you can adjust it at any time. “Why can’t I move the phone at second seven?” simply does not come up.
What plays on the display
In a film a device can show several screenshots in a row. As long as you do not set times, they share the duration evenly; drag a boundary and that one sticks. The image strip sits right behind the device track in the timeline, so you can see at a glance which screen is showing while the device flies in.
Video works as well as screenshots: a recording of your app, an exported prototype, a screencast. If you have none, record one inside the editor. The screen recording option in the media library uses your browser’s screen sharing, and the result lands in the project as a clip.
Camera moves without being a camera operator
The camera is driven by auto motion. Instead of dialling in angles and paths, you draw rectangles on the display: around the button, the headline, the chart. Each one is a focus area with its own start and end on the camera track. The camera travels there, for two seconds at most, and holds the shot until the area ends.
- Gaps between areas are fine. The camera simply stays where it last was.
- A new area is placed after the last entrance, so the camera does not chase a device that is still flying in.
- After the last area the camera returns to the view you set up. If you want to end on the close-up, drag the last area to the end of the timeline.
- 3D places the camera slightly off-axis in front of the area, with visible depth. 2D looks straight at the display — a calm move across the screenshot, right for screens with lots of text.
Add sound
Drop music or a voice-over into the editor window just like images; in a film the media library takes audio too. On the audio track you set when a piece starts, when it ends and from which point in the track it plays, plus its volume. Each clip fades in and out very briefly so nothing clicks. The mix happens in the browser at export time, in stereo at 48 kHz.
Loops for your website and social
For a website hero or a post that plays forever, switch on loop. Two things happen: every entrance automatically gets its matching exit, so the end lines up with the beginning. And because the camera returns to its starting position after the last focus area, nothing jumps at the seam. Without loop, a film is free to end on its final frame — you only add an exit when you want one.
The formats you need are already in the stage settings:
- Portrait 9:16 at 1080 × 1920 for stories and reels.
- Square at 1080 × 1080 for the feed.
- Website hero at 2560 × 1440 for the big area at the top of the page.
One note on websites: browsers usually only autoplay video when it is muted. So leave the sound out of the hero loop, and keep it for the launch post on social.
Export as video
The export renders frame by frame. Nothing is captured in real time, so the result does not depend on how fast your machine happens to be. You choose:
- Format: MP4 with H.264 to play anywhere, or WebM with VP9. Only WebM can carry a transparent background.
- Frame rate: 24, 30 or 60 frames per second. At very large sizes Showoff caps the MP4 frame rate at what players reliably handle, and tells you so.
- Motion blur: off, short (90°), normal (180°) or long (306°). Normal is the look you know from film; without it, fast motion can look a little strobe-like.
- Resolution: 1x, 2x or 4x the format you set.
Encoding happens in the browser itself — in Chrome, Edge, or Safari 16.4 and later. The dialog shows which frame it is on, and closing it cancels without leaving half a file behind.
The quickest way
Take an animation from the templates, swap in your screenshot, move the focus areas onto the parts that matter and export. No account yet? Start here.