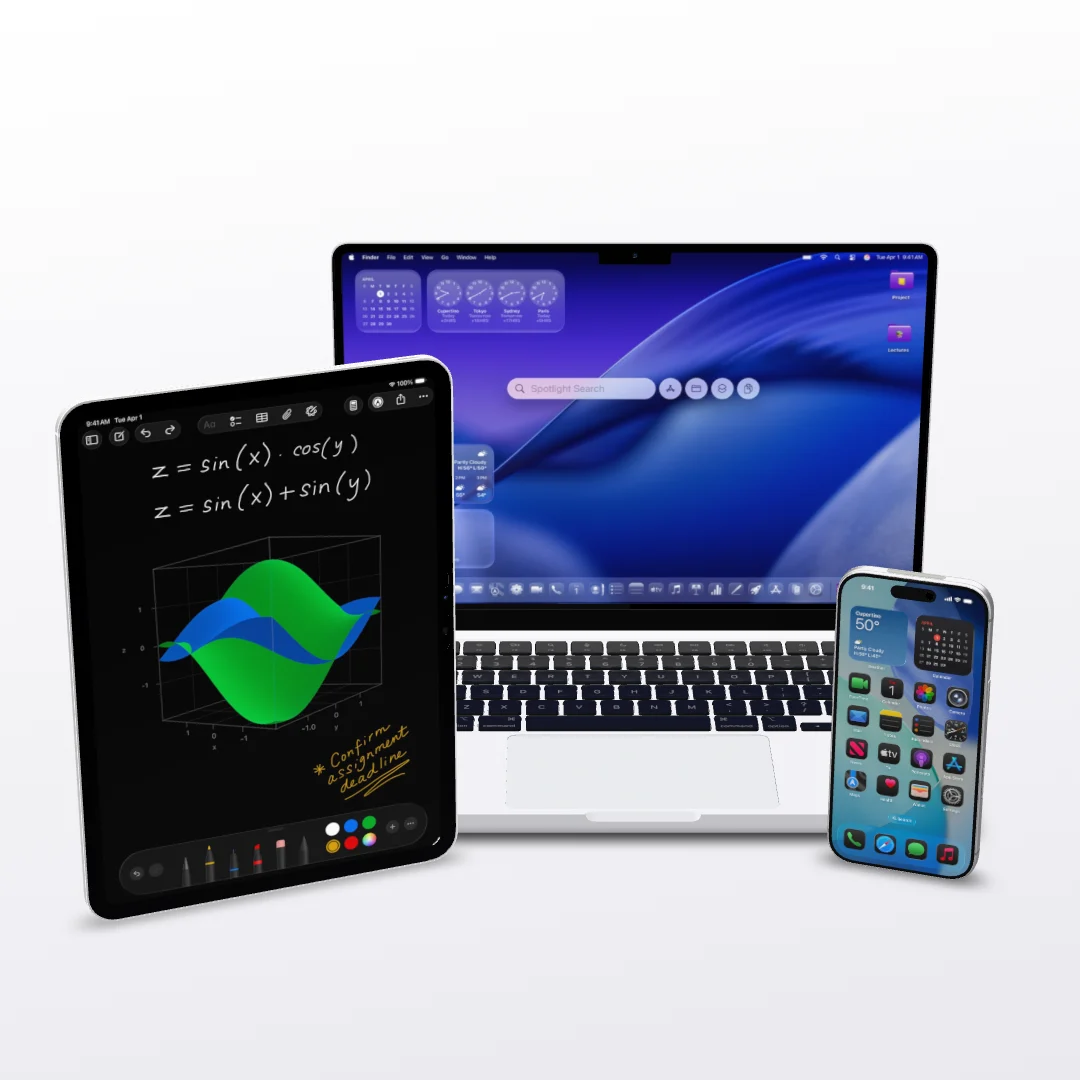
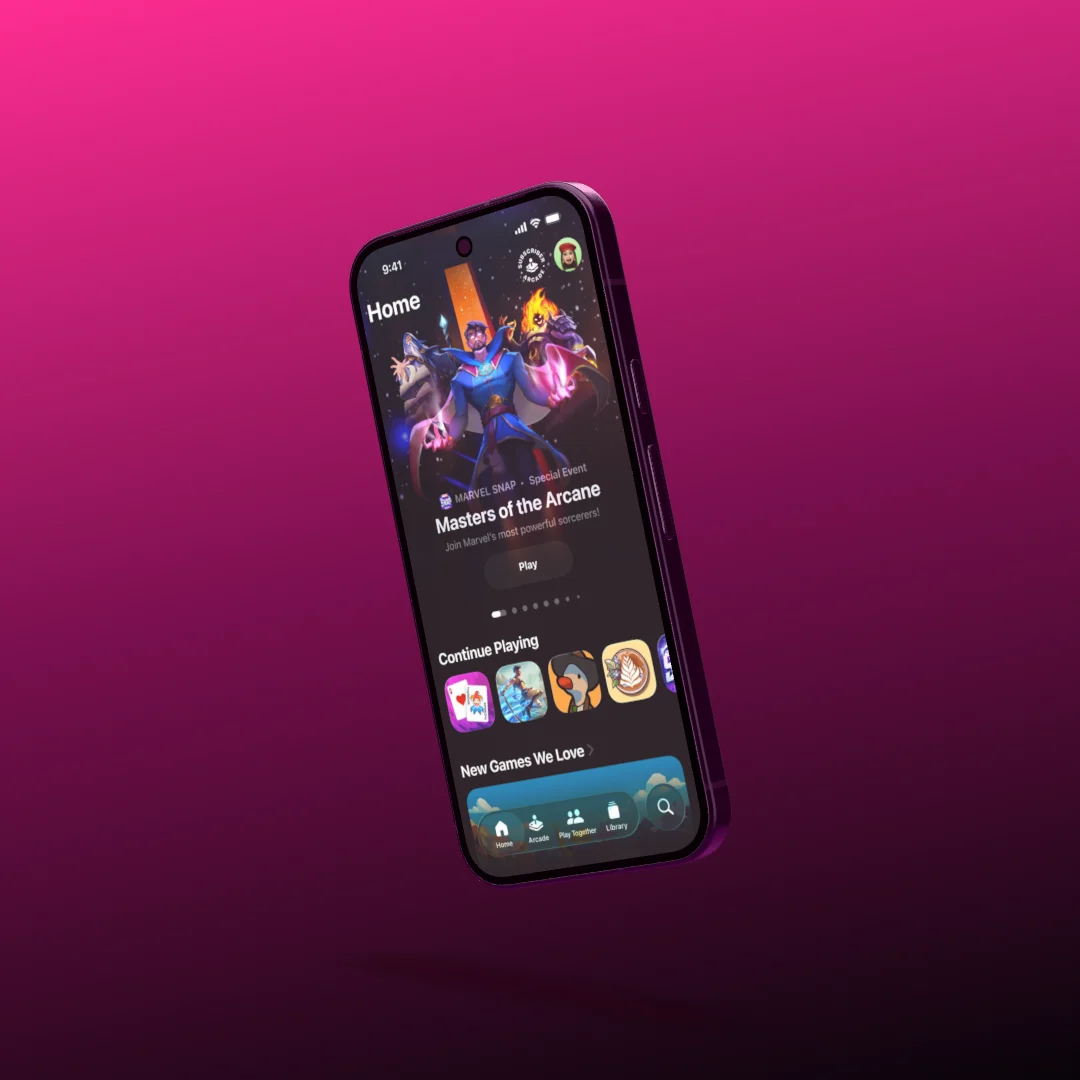
App Store screenshots that look like product photos
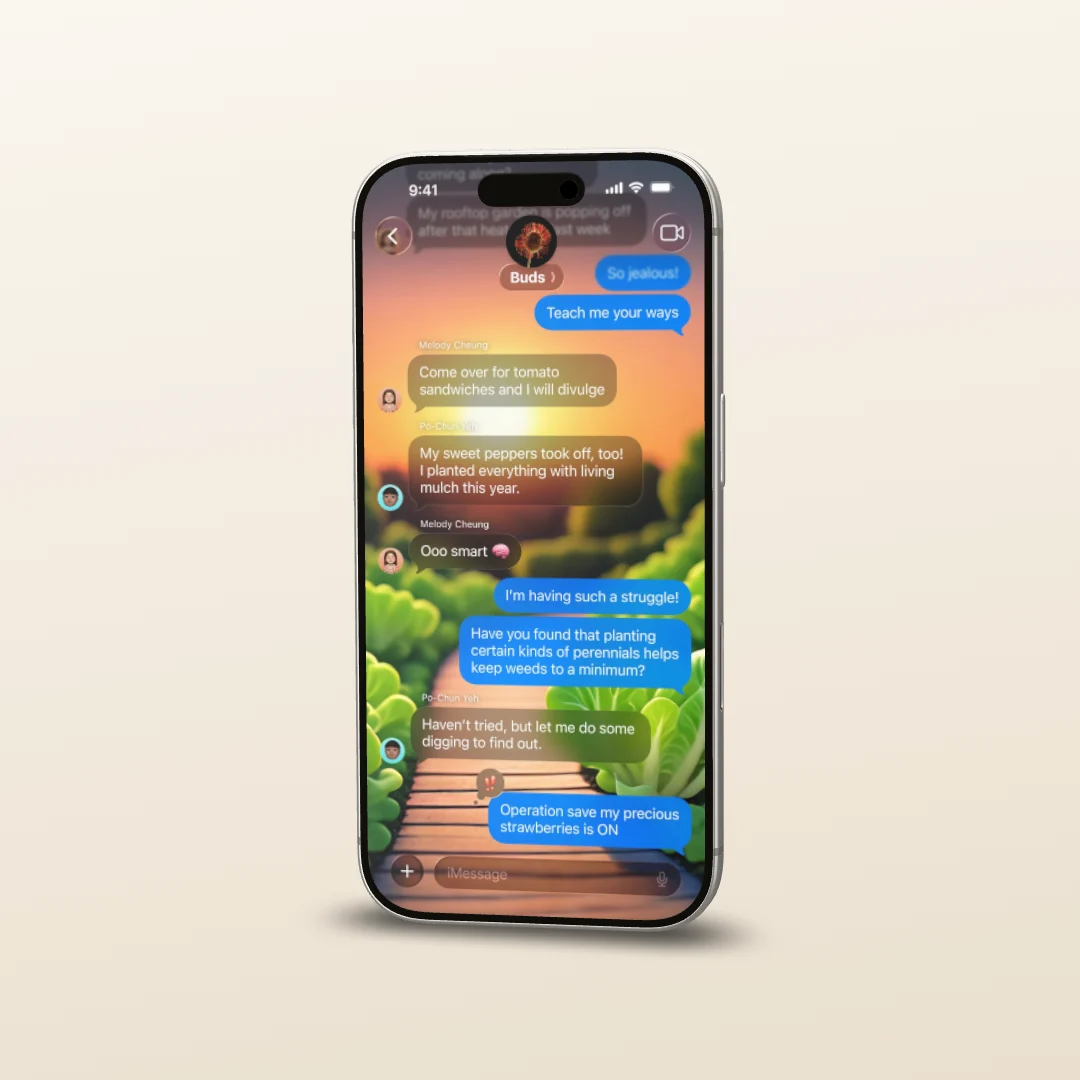
In a store listing, people decide within a second or two whether to keep looking. Most app pages show the same thing there: a screenshot in a flat frame over a gradient, three words on top. This guide shows how the same screenshots become images that look like product photography — and roughly what sizes the stores expect.
What the stores ask for
The exact numbers change with every hardware generation, so first things first: check the current help pages in App Store Connect and the Play Console before you upload. The ground rules:
- App Store: portrait screenshots at the resolution of the largest iPhone class, currently 6.9-inch. If your app looks the same on every iPhone, Apple derives the smaller sizes from those.
- iPad: if your app runs on iPad, you need a separate set at iPad resolution. A stretched iPhone image does not count.
- Google Play: JPEG or 24-bit PNG without transparency, and the long side may be at most twice as long as the short one.
That last rule is the classic trap. The big iPhones are narrower than 1:2, so an image in their format gets rejected by Google. You need two sets — or one scene you export twice. That is exactly what a 3D editor is good at.
A product shot, not a frame
A flat frame is a picture of a phone with a hole in it, and your screenshot gets pasted into the hole. It does one view: straight on. A product photo has light that comes from somewhere, a shadow the device rests on, and an angle that tells you there is an object there. In Showoff your screenshot sits on the display of a 3D model, and the stage around it lights it. The camera does the rest.
1. Start from a template or from scratch
The templates are finished scenes: devices, arrangement, background, camera. One click creates a project from one. The scene is copied, so you cannot break the template itself. If you would rather build your own, create a new project as a still image. Still or film is decided once for the whole project — for store screenshots, still is what you want.
2. Set the format
In the stage settings, pick a format preset. The App Store 6.9-inch preset at 1320 × 2868 is already there. For Google Play, use portrait 9:16 at 1080 × 1920, or enter width and height yourself with a custom format. The preview always shows exactly the frame that will be exported — no surprise cropping.
3. Place a device, add the screenshot
Add a device to the stage: iPhone 17 and 17 Pro, the iPhone 16 line-up, Google Pixel 10 Pro and 11 Pro, Samsung Galaxy S24 and S24+, plus iPad, MacBook, Apple Watch and Studio Display. Some come in several finishes, the Galaxy S24 for example in Onyx Black, Cobalt Violet and Amber Yellow. Android screenshots belong on an Android device, of course; a Pixel on Google Play and an iPhone on the App Store is basic courtesy.
Drag the screenshot into the editor window and it lands in the project’s media library. Right-click the device, choose the screenshot option, and it goes on the display. If the same image appears on several devices, it is still stored in the project only once.
4. Camera: long rather than wide
The camera starts with a field of view of 20 degrees. That is a long lens, and it gives you the flat, calm look of product photography. In camera mode you can orbit freely around the device. A few rules of thumb:
- A slight angle is enough. A small turn shows the device has depth; more than that costs legibility.
- Lots of text in the screenshot? Stay closer to straight on. Nobody reads type at a steep angle while scrolling past.
- Two devices staggered, one in front and one slightly behind, say more than two lined up side by side.
- Be consistent: a whole set shot from the same angle looks like a set, not a scrapbook.
5. Background and light
For the background you can choose a solid color, a gradient or an image of your own. It is more than wallpaper: with “Adapt to background” the housing picks up its color along the edges, like a real device in front of a colored wall. The floor shadow makes the device stand on something instead of floating. And the reflection on the display is deliberately low, so your screenshot keeps its blacks.
For store images, a calm color taken from your app works well, a touch lighter or darker than the UI itself. A bold gradient is lovely until six of them sit side by side. Need a headline? Add a text object to the stage — and keep it short, because in the store it is read at thumbnail size.
6. Export
The export asks for format and resolution. For the stores: JPEG or PNG at 1x, which gives you exactly the dimensions you set. 2x and 4x are meant for websites and print. Showoff can also export a PNG with a transparent background, but for Google Play that is precisely what you do not want.
For the rest of the set, swap the screenshot from the right-click menu and export again. For Google Play, switch the format, check the framing briefly and export the same scenes once more. Device, light and angle stay as they are.
In short
- Check the store requirements in their own help pages before exporting.
- Still project or template, App Store 6.9-inch format or 9:16 for Google Play.
- The right device, screenshot on the display via right-click.
- Camera at a slight angle, calm background, shadow on the floor.
- Export at 1x as JPEG or opaque PNG, then swap the screenshot and repeat.
The quickest start is a template where you only swap the screenshot. You can create an account here.